

How to Remove Paint Protection Film (PPF): A Comprehensive Guide
Paint Protection Film (PPF) is a popular choice for car owners who want to preserve their vehicle’s pristine appearance. However, there may come a time when you need to remove the PPF. Whether it’s because the film has aged, it’s been damaged, or you simply want a fresh start, removing PPF requires careful attention to avoid damaging your car’s paint. Here’s a detailed guide on how to remove PPF effectively.
Materials Needed
- Heat gun or hair dryer
- Plastic scraper or squeegee
- Isopropyl alcohol
- Microfiber cloths
- Adhesive remover
- Patience and a steady hand
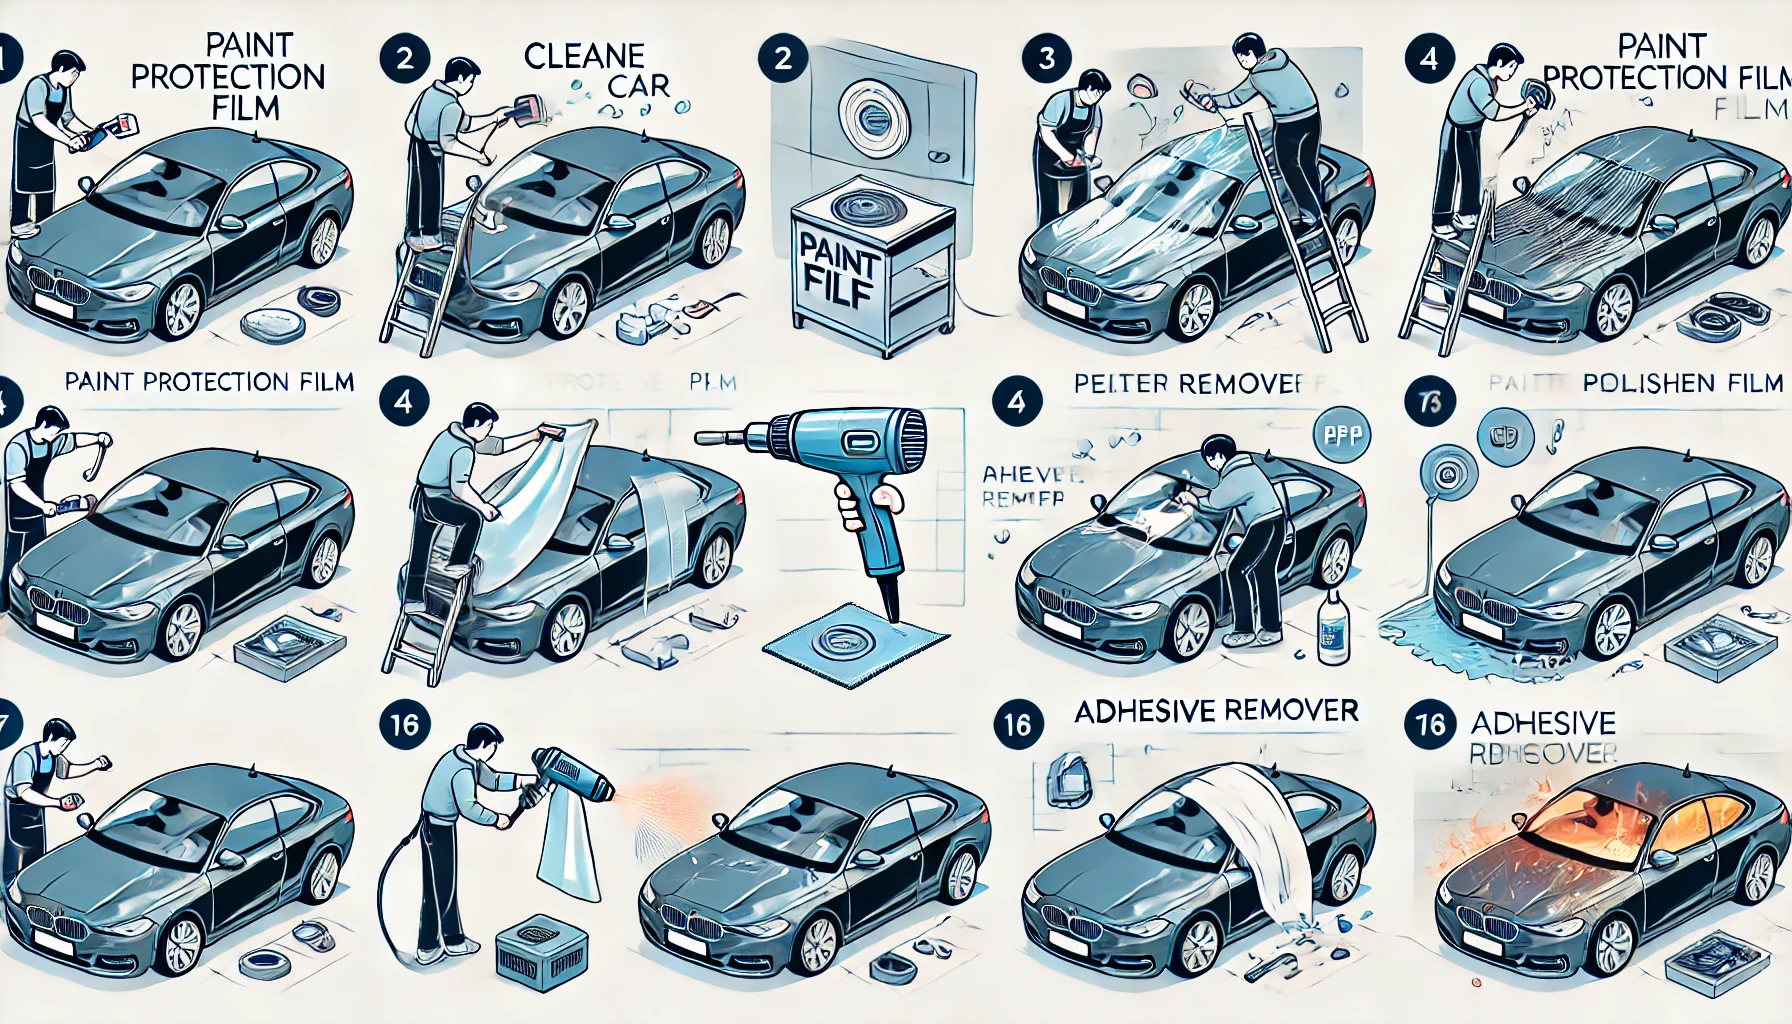
Step-by-Step Process
- Preparation
- Clean the Surface: Before you begin, wash your car thoroughly to remove any dirt or debris. This prevents any particles from scratching the paint during the removal process.
- Gather Tools: Make sure you have all the necessary tools and materials within reach.
- Heating the Film
- Use a Heat Gun or Hair Dryer: Gently heat a corner of the PPF using a heat gun or hair dryer. Keep the heat source at least 6-12 inches away from the surface to avoid overheating and damaging the paint.
- Warm the Edges: Focus on warming the edges of the film first. The heat softens the adhesive, making it easier to peel off the film.
- Peeling the Film
- Start at a Corner: Use your fingernail or a plastic scraper to lift a corner of the PPF. Once you have a good grip, slowly peel back the film.
- Pull at a 45-Degree Angle: Gently pull the film back at a 45-degree angle. This helps to minimize the risk of leaving adhesive residue or damaging the paint.
- Apply Consistent Heat: Continue to apply heat as you peel. If you encounter resistance, stop and apply more heat to the area.
- Removing Residual Adhesive
- Use Adhesive Remover: Once the film is removed, some adhesive may remain on the surface. Apply an adhesive remover according to the product instructions.
- Let It Sit: Allow the adhesive remover to sit for a few minutes to break down the residue.
- Wipe Away Residue: Use a microfiber cloth to wipe away the softened adhesive. You may need to repeat this process for stubborn areas.
- Cleaning and Finishing
- Isopropyl Alcohol: Dampen a microfiber cloth with isopropyl alcohol and wipe down the area to remove any remaining adhesive remover.
- Final Wash: Wash the area with soapy water to remove any chemical residues.
- Polish and Wax: To restore the shine, you can polish and wax the area as needed.

Tips for a Smooth Removal Process
- Work in Small Sections: Working in small sections ensures that you maintain control and reduces the risk of damaging the paint.
- Stay Patient: Rushing the process can lead to mistakes. Take your time, especially when dealing with tough spots.
- Avoid Sharp Tools: Never use metal tools or anything sharp that could scratch the paint.
Conclusion
Removing PPF can be a meticulous task, but with the right tools and patience, you can achieve a clean removal without damaging your vehicle’s paint. Always remember to work carefully and methodically, applying heat gradually and using appropriate products to handle adhesive residue. If you’re unsure about any part of the process, consider consulting a professional to ensure the best results.
By following these steps, you can safely remove your Paint Protection Film and maintain the pristine condition of your car’s paintwork. Happy detailing!
For more tips and professional detailing services, visit Tailor-Made Detailing. We offer expert advice and quality service to keep your vehicle looking its best.